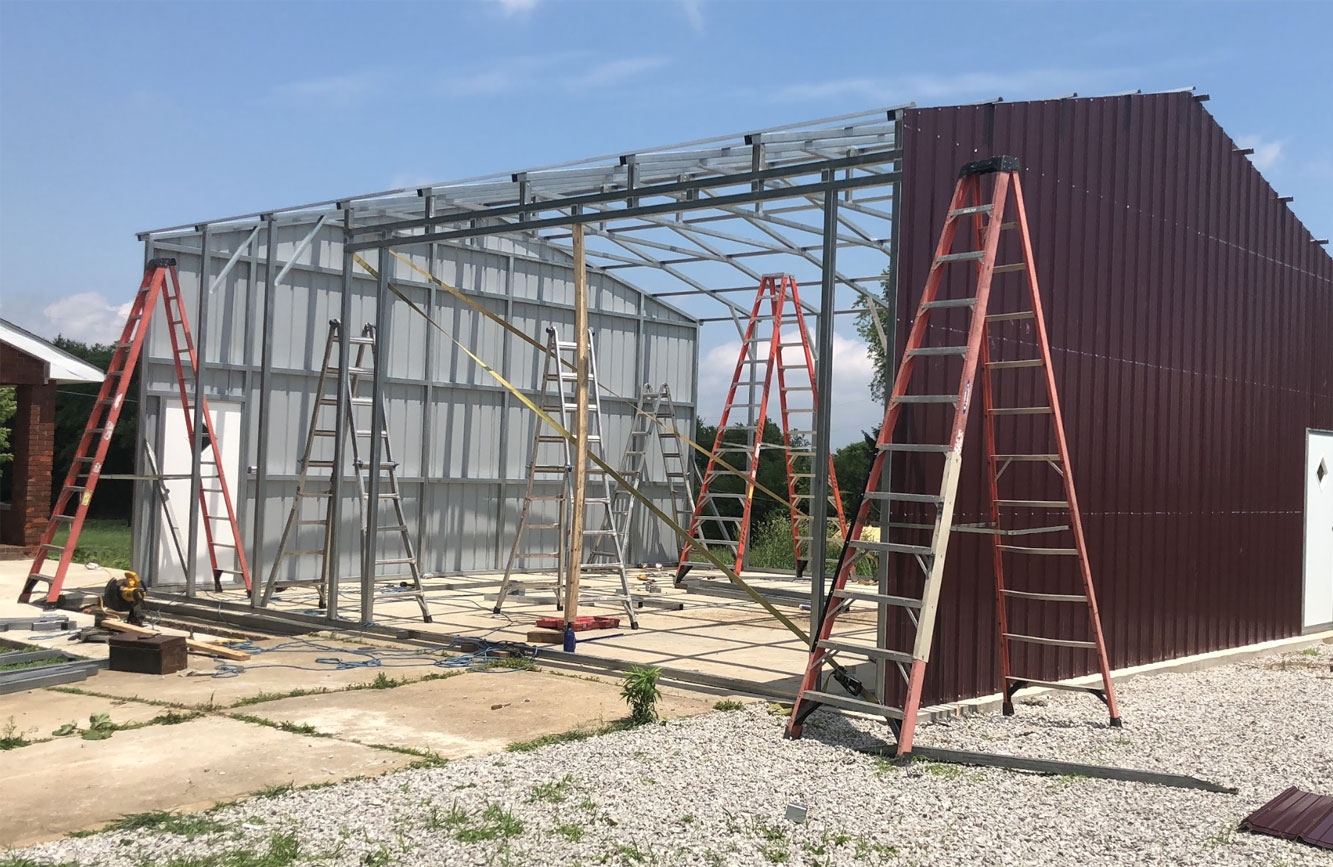
Framing with light-gauge steel is a popular construction method due to its durability, strength, and versatility. This material, also known as cold-formed steel, is ideal for various building projects, including residential, commercial, and industrial structures.
Here’s a step-by-step guide on how to frame with light-gauge steel.
Planning and Design
Before starting the framing process, detailed planning and design are essential. Use architectural drawings to outline the structure’s dimensions, load requirements, and layout. Ensure you have the correct measurements and specifications for the steel components you’ll need, such as studs, tracks, and connectors. Planning helps prevent errors and ensures a smoother construction process.
Preparing the Site
Clear and level the construction site before you begin. Proper site preparation is crucial for the
integrity of the structure. Ensure that the foundation is solid and level, as any irregularities can affect the stability and alignment of the steel framing.
Assembling Tools and Materials
Gather all necessary tools and materials. Common tools include a tape measure, laser level, metal snips, a drill, a screw gun, and safety equipment such as gloves and goggles. The materials you’ll need include light-gauge steel studs, tracks, screws, and connectors. Having everything ready beforehand can save time and reduce interruptions during construction.
Installing the Tracks
Begin by installing the bottom and top tracks, which serve as the framework for your walls. Secure the bottom track to the floor using appropriate fasteners, ensuring it is level and aligned with your plans. Repeat this process for the top track, fastening it to the ceiling or upper structure. These tracks will guide the placement of your vertical studs.
Cutting and Installing Studs
Measure and cut the steel studs to the appropriate height, typically the distance between the bottom and top tracks. Use metal snips or a chop saw for precise cuts. Insert the studs into the tracks, positioning them according to your design, usually spaced 16 or 24 inches apart. Secure each stud with screws at the top and bottom tracks, ensuring they are plumb and level.
Adding Horizontal Bracing
For added stability, install horizontal bracing between the studs. This can be done using steel straps or blocking pieces cut from the same light-gauge steel. Bracing helps prevent the studs from twisting and provides additional support for the wall structure.
Securing Electrical and Plumbing
If your project includes electrical wiring or plumbing, now is the time to install these components. Light-gauge steel framing often includes pre-punched holes in the studs, making it easier to run wires and pipes through the walls. Ensure all installations comply with local building codes and regulations.
Inspecting and Finalizing
After assembling the frame, conduct a thorough inspection to ensure all elements are securely fastened and properly aligned. Check for any gaps, misalignments, or loose connections. Make necessary adjustments to ensure the frame is robust and stable.
Conclusion
Framing with light-gauge steel offers numerous advantages, including strength, durability, and resistance to pests and fire. By following these steps, you can efficiently construct a reliable steel-framed structure. Whether you’re building a new home, office, or industrial space, light-gauge steel provides a versatile and dependable framing solution.
